Amazon EKS
Create a managed Kubernetes (EKS) cluster on your own AWS account with Microtica's production-ready template, configured and deployed in about 10 minutes.
This template provisions a managed Kubernetes (EKS) cluster on your own AWS account, including the networking and compute it needs to run your container workloads.
One-click deploy
Click Deploy with Microtica below and follow the template steps to deploy a Kubernetes cluster on your AWS account.

1. Create an account
Creating a Microtica account is free. Sign up with your email or with your Git account.
2. Select the EKS template
On the starting screen, select the Amazon EKS template in the Starter Plan Templates section. You get 14 days to try out this plan and its templates. You're redirected to a page where you configure the parameters, choose an environment to deploy your EKS cluster to, and deploy.

On the left side, you can see which infrastructure resources this template provisions:
- a VPC component to set up the networking where the EKS container runs, and
- the Kubernetes Cluster Component, which contains EC2 instances, a load balancer, and a preinstalled Ambassador API Gateway.
3. Configure the template
When you open the template, you see some predefined values. These are environment variables that specify a t3.small EC2 instance with 1 node — the minimal configuration so you can try the template. For more serious workloads, you need more compute power, so configure the template variables for your needs.

Save the changes to continue with the next steps.
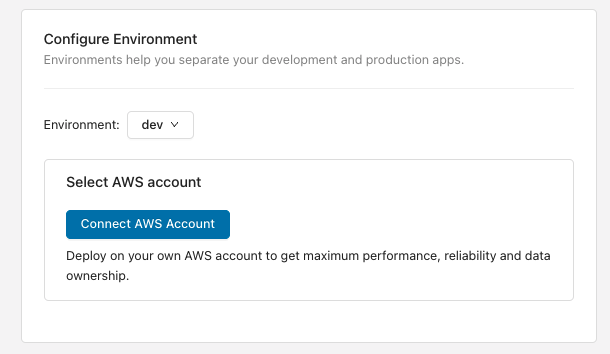
4. Select an environment
Next, provide an environment where your Kubernetes cluster deploys. Environments help you group infrastructure and application resources, so you can better separate your development and production workloads.
Select an existing environment or create a new one on the spot.
After that, connect your AWS account to deploy the EKS cluster there, so you keep ownership of your infrastructure and data.
5. Deploy the template to your environment
Once you've finished the infrastructure configuration, trigger a deployment of the environment by clicking Deploy.
All resources are created on the provided AWS account. Expenses are calculated according to AWS pricing for the services used.
It takes about 10 minutes for this cluster to deploy on the cloud. Meanwhile, follow the detailed deployment logs.
Next steps
Deploy a Next.js app
Deploy a production-ready Next.js app on your own AWS account with Microtica's free template — start on a demo cluster, then self-host on EKS.
EKS administration
Set up local kubectl access to your EKS cluster, shell into pods, port-forward applications, and grant your apps access to AWS resources like SES and SQS.