Access the RDS database
Reach your Strapi RDS database in a private VPC from your local machine — create an EC2 key pair, open SSH, and tunnel in with psql or a GUI client.
The Strapi app and the RDS database run in a private VPC network, and all traffic from the outside is blocked by default. You can't reach the service or the database directly from the internet.
To access the database from your local machine, follow the steps below.
1. Create an EC2 key pair
To create a new EC2 key pair, go to the AWS console, choose the EC2 service, select Key Pairs from the left panel, and click Create key pair in the top right. The name you choose here is the one you use to configure the VPC resource in the Microtica Developer Portal.
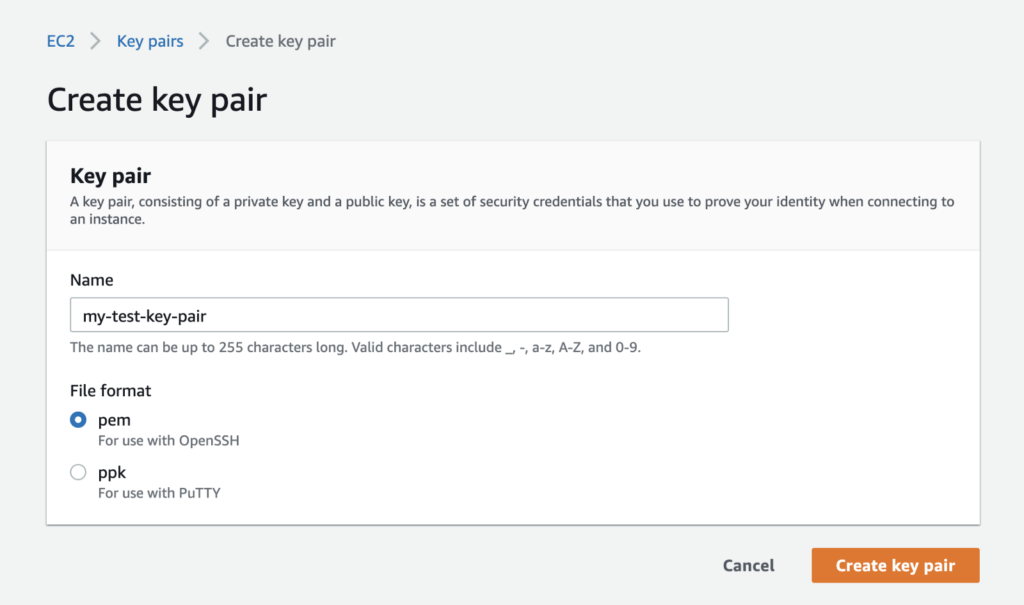
EC2 key pair
You need to create an EC2 key pair from the AWS console. We don't create it automatically for security reasons. Keep this key in your possession and in a secure place. It lets you access your EC2 instances through SSH.
2. Allow SSH access from your public IP address
In the AWS console, go to the EC2 service and select the VPC-nat instance. In the Security tab, click the security group.
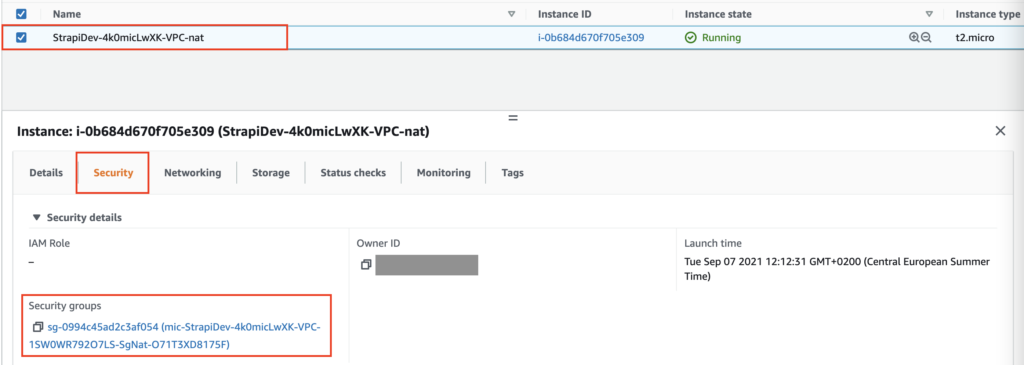
Edit the inbound rules to whitelist your public IP address for port 22 (the SSH port). Save the changes.

3. Configure the VPC resource in the Microtica Developer Portal
Next, add the name of the key pair you just created by updating the configuration of the VPC resource in the Strapi environment. Go to your Strapi environment, under Resources select the VPC resource > Resource Settings. Enter the keyName you created previously and click the Save and Deploy button.

4. Connect to the database over SSH
Now you have everything ready to connect to the database. To get the information you need, follow these steps:
- Select the VPC resource. In Resource Outputs, get the NAT instance IP and use it as an SSH hostname. Set the SSH username to ec2-user.

- Select the Strapi resource. In Resource Outputs, get the database endpoint, port, and username. The database password is securely stored in the AWS Secret Manager secret named in the DatabaseSecret output parameter.

- Finally, use your preferred client (such as pgAdmin or MySQLWorkbench) to connect to the Strapi database.
To use the CLI instead, first establish a tunnel to your database, then connect with the following commands:
# Establish an SSH tunnel to your RDS database
ssh -i PEM_PATH_HERE -L 5432:DATABASE_ENDPOINT_ADDRESS_HERE:5432 ec2-user@NAT_INSTANCE_IP_HERE

# Connect with the database
psql -U dbuser -h 127.0.0.1 -p 5432 -d strapi
Next steps
Configure a custom domain for Strapi
Serve your Strapi app over HTTPS on your own custom domain instead of the auto-generated HTTP address that Microtica assigns by default.
Scale your Strapi app
Scale your Strapi app vertically and horizontally on Microtica — set CPU and memory per instance, and run multiple replicas behind a load balancer.