Authenticate the CLI
Create a Microtica API key in the console, log in to the CLI, see where credentials are stored, and configure the CLI with environment variables.
Before any command can reach the Microtica API, the CLI needs an API key. You create one in the Microtica console, store it once with microtica login, and every later command reuses it.
Create an API key
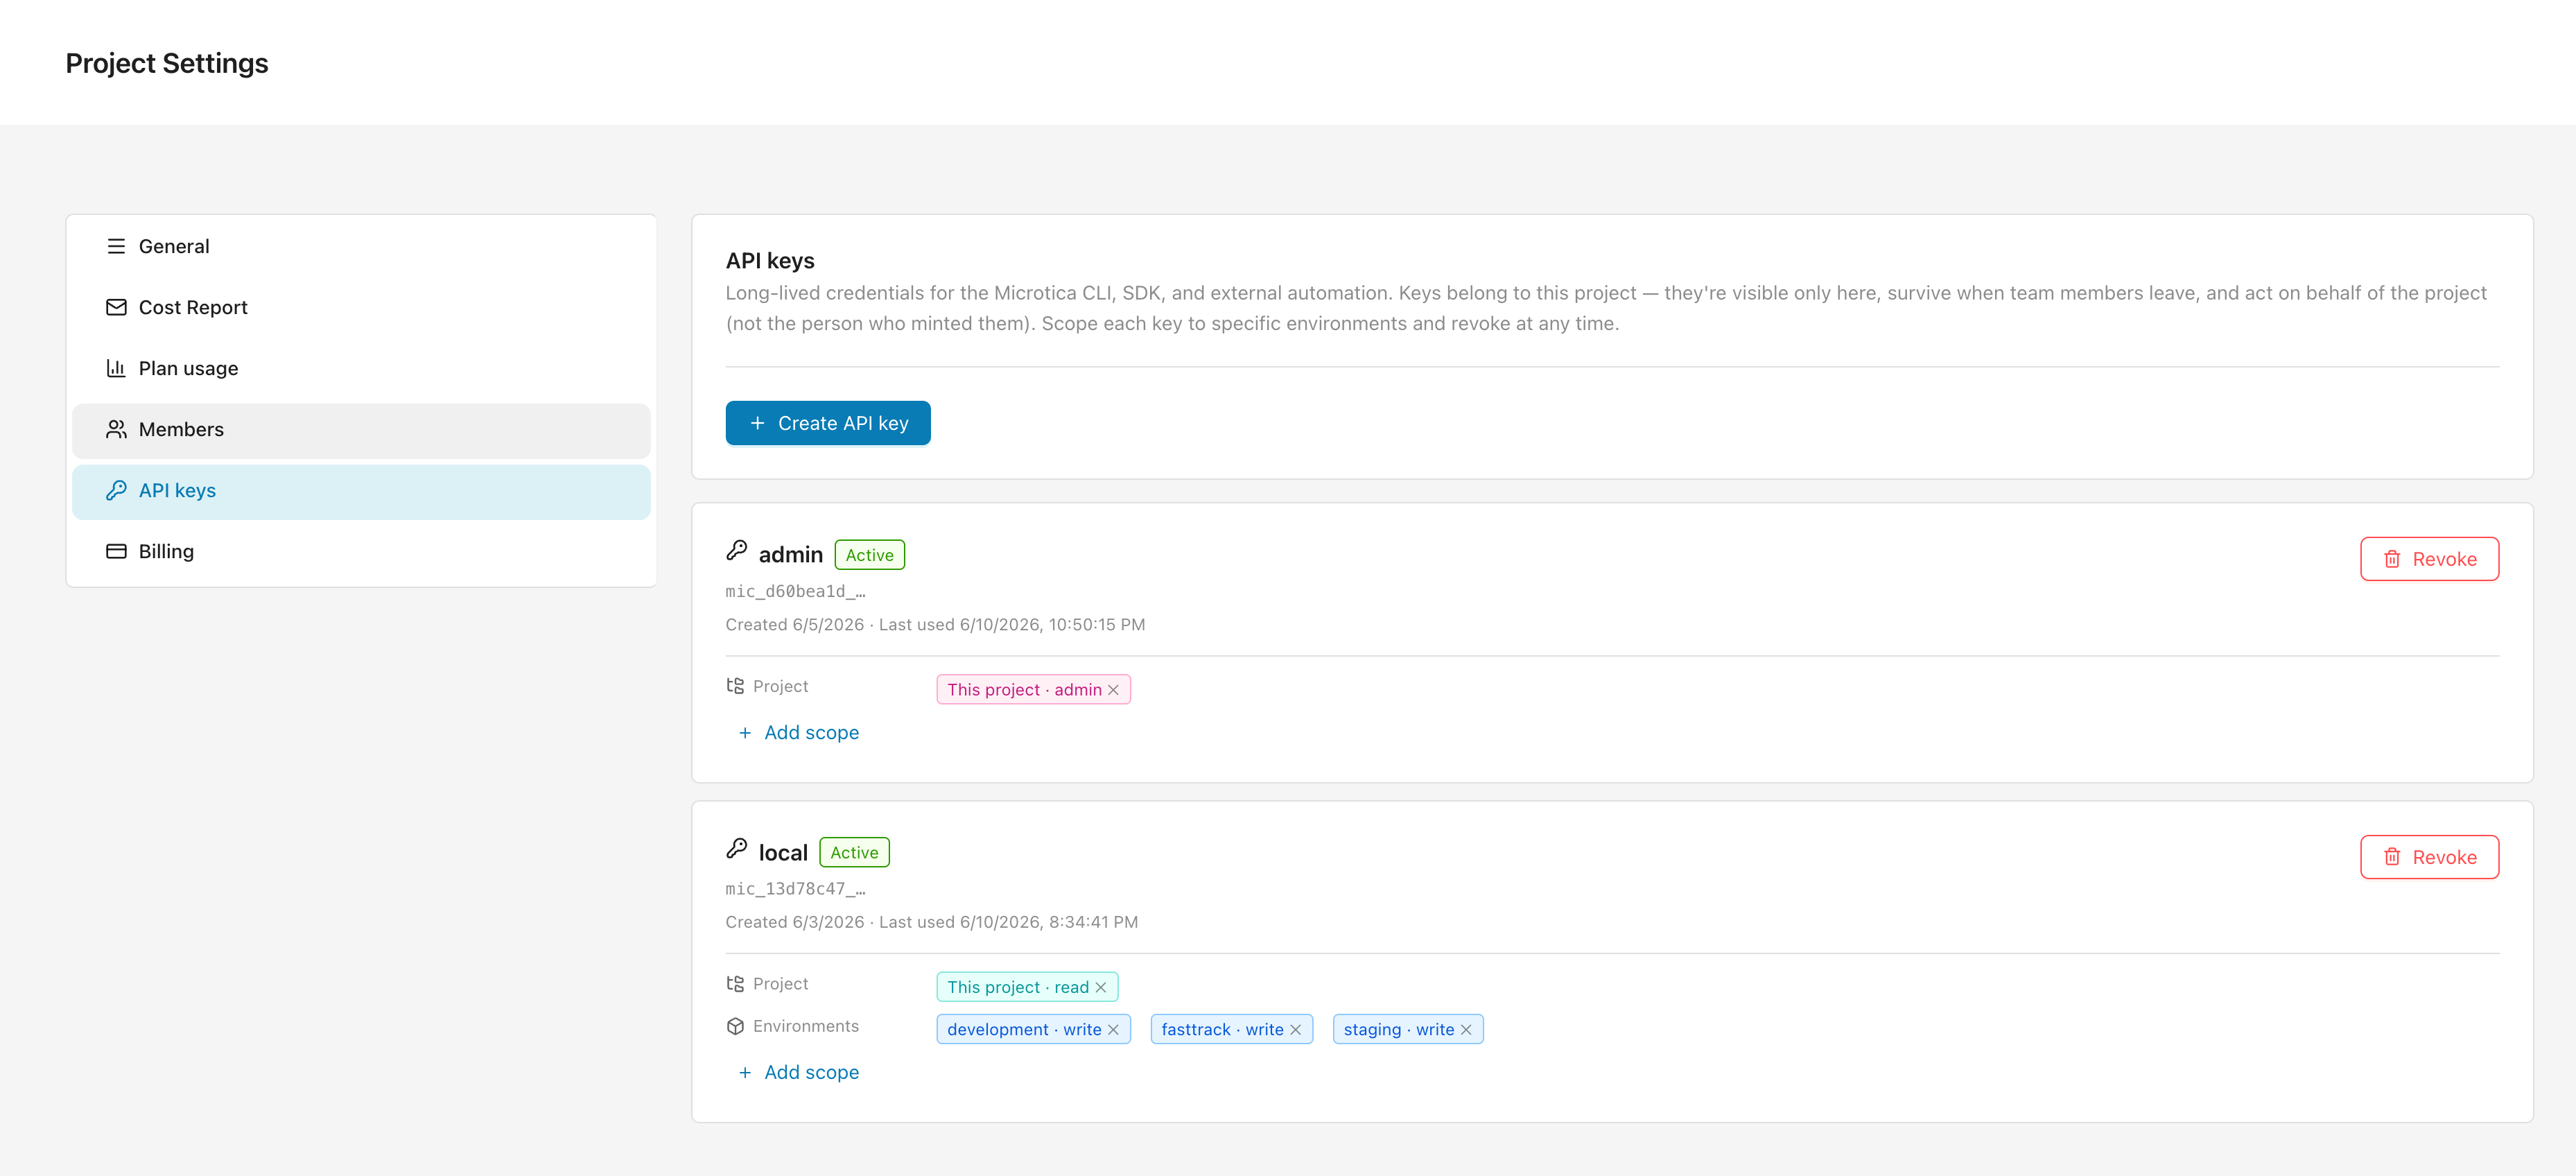
API keys are long-lived credentials for the CLI, SDK, and external automation. A key belongs to the project, not the person who created it — so it keeps working when team members leave, and you can scope it to specific environments and revoke it at any time.
- Open your project and go to Settings → API keys.
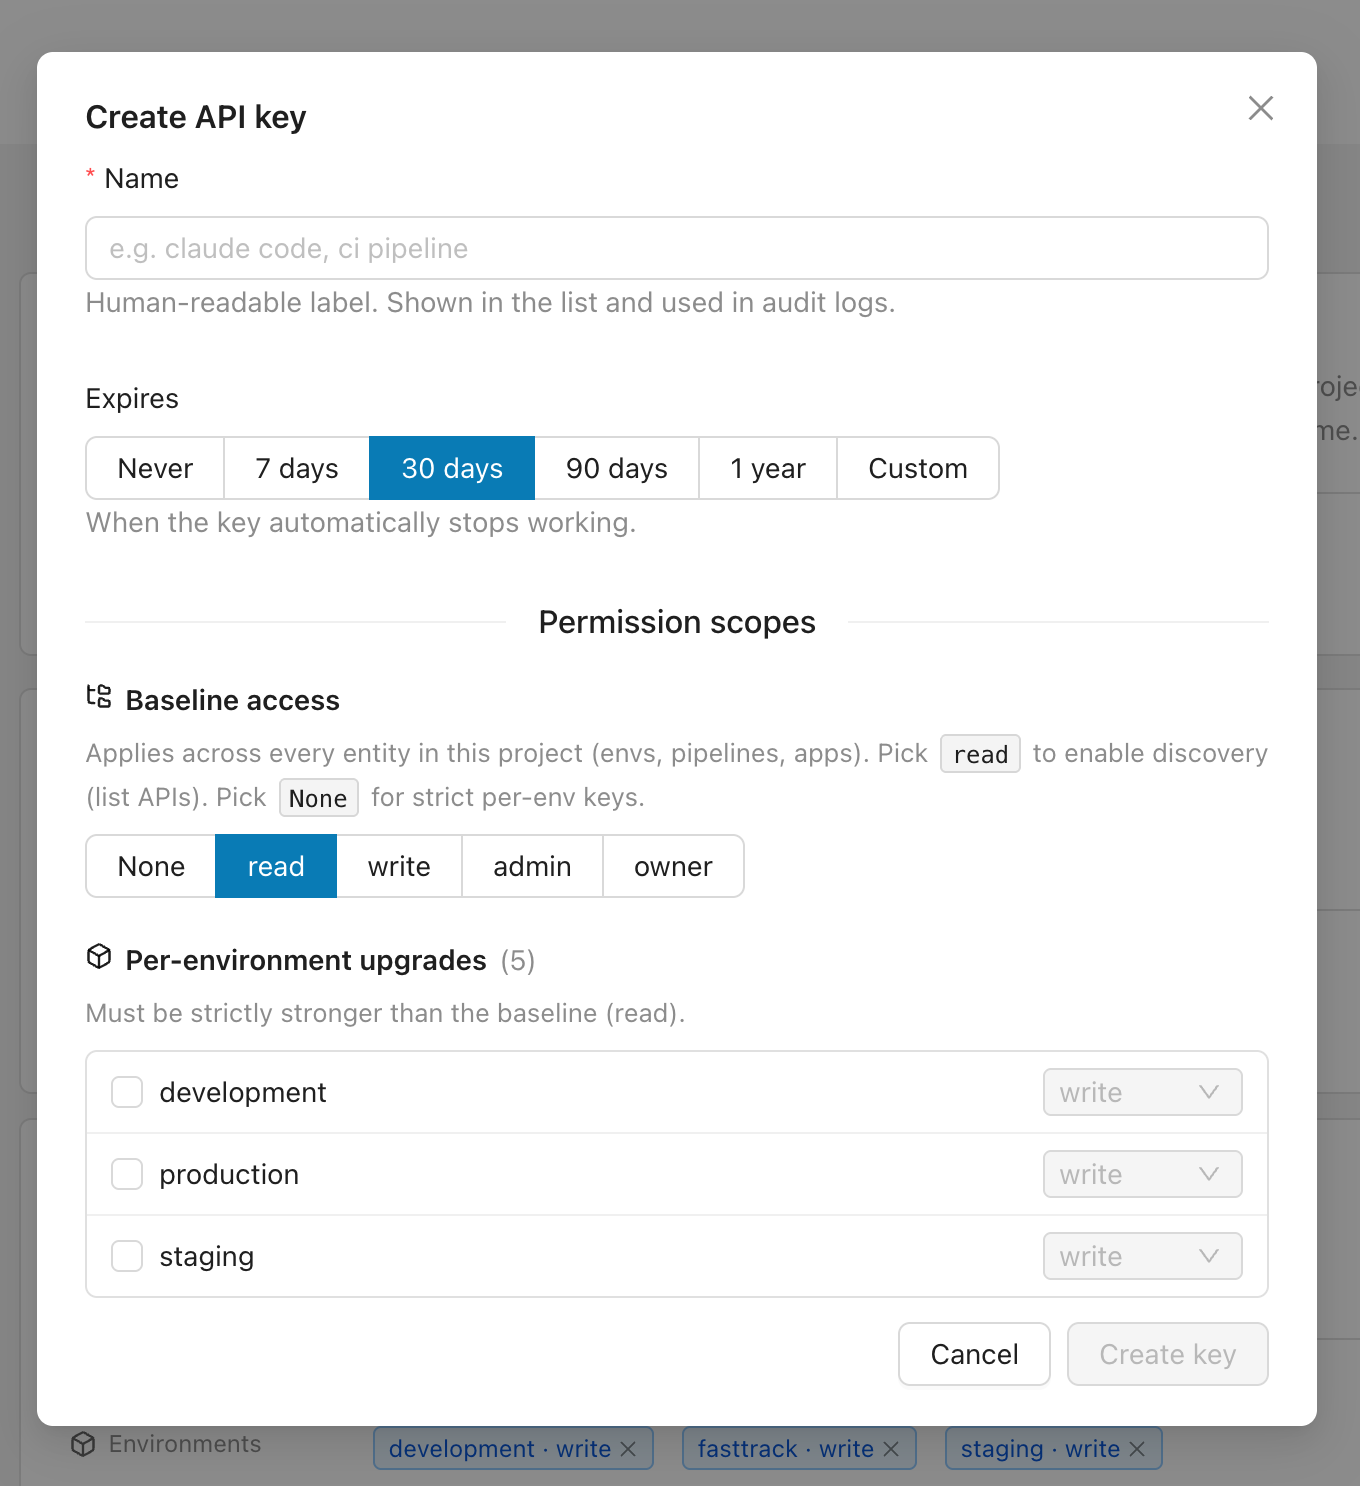
- Click Create API key.
- Give the key a Name like
claude codeorci pipeline. It appears in the key list and in audit logs. - Choose when it Expires — never, in 7, 30, or 90 days, in a year, or on a custom date.
- Set the Baseline access that applies across every entity in the project (environments, pipelines, apps):
None,read,write,admin, orowner. Pickreadto let the key use discovery and list endpoints; pickNonefor a strict per-environment key. - Optionally add Per-environment upgrades to grant a stronger role on specific environments. Each upgrade must be strictly stronger than the baseline.
- Click Create key, then copy the
mic_…value — this is the only time it's shown in full.
Back in the list, each key shows its prefix, status, and scopes, and lets you add scopes or revoke it.
Scope keys tightly. Give a key only the access it needs — for example a read baseline with a write upgrade on one environment. Revoke any key from the list the moment it's no longer needed.
Log in
Store your API key with microtica login:
microtica login --token mic_…You can also pipe the key on stdin, which keeps it out of your shell history:
echo "$MIC_API_KEY" | microtica loginOn success the CLI prints where it saved the key. A token that isn't a valid Microtica API key is rejected before anything is written.
Where credentials live
microtica login writes your key to ~/.microtica/credentials with owner-only permissions (0600). Delete that file to log out.
Configure with environment variables
Environment variables override the stored file, which makes them the right fit for CI and ephemeral shells:
| Variable | Purpose |
|---|---|
MICROTICA_TOKEN | API key to use. Takes precedence over ~/.microtica/credentials. |
MICROTICA_PROJECT_ID | Default project id for commands that need one. |
With MICROTICA_TOKEN set, you can skip microtica login entirely:
export MICROTICA_TOKEN=mic_…
export MICROTICA_PROJECT_ID=<project-id>
microtica whoami
Set a default project
Most commands need a project id. Pass --project <id> on any command, or set MICROTICA_PROJECT_ID once so you don't repeat it. The --project flag wins when both are present.
# Per command
microtica env list --project <project-id>

# Or set it once for the session
export MICROTICA_PROJECT_ID=<project-id>
microtica env list
Run microtica project list to find the ids of the projects your key can access.
Verify your session
microtica whoami shows the identity behind your stored key and probes the API, so you can confirm both the key and that it still works:
microtica whoamivia: apikey
api key prefix: mic_d60bea1d
api reachable: true
projects visible: 12Next steps
Microtica CLI
Install the Microtica CLI and drive your projects, environments, apps, pipelines, and logs from the terminal or an AI agent. Get set up in minutes.
Output, queries, and exit codes
Switch the Microtica CLI to JSON, filter responses with JMESPath, and read its error format and exit-code conventions when scripting.