Connect a GCP account
Connect your Google Cloud account to Microtica so it can provision and manage infrastructure for you by impersonating a service account you create.
Microtica provisions infrastructure directly on your Google Cloud Platform (GCP) account. Connect the account once and grant Microtica the access it needs to manage your cloud resources.
Microtica authenticates by impersonating a service account that you create for this purpose.
Prerequisites
- A Microtica project — create one if you don't have it yet.
- Permission to create service accounts and grant IAM roles in the GCP account you want to connect.
Create a service account
-
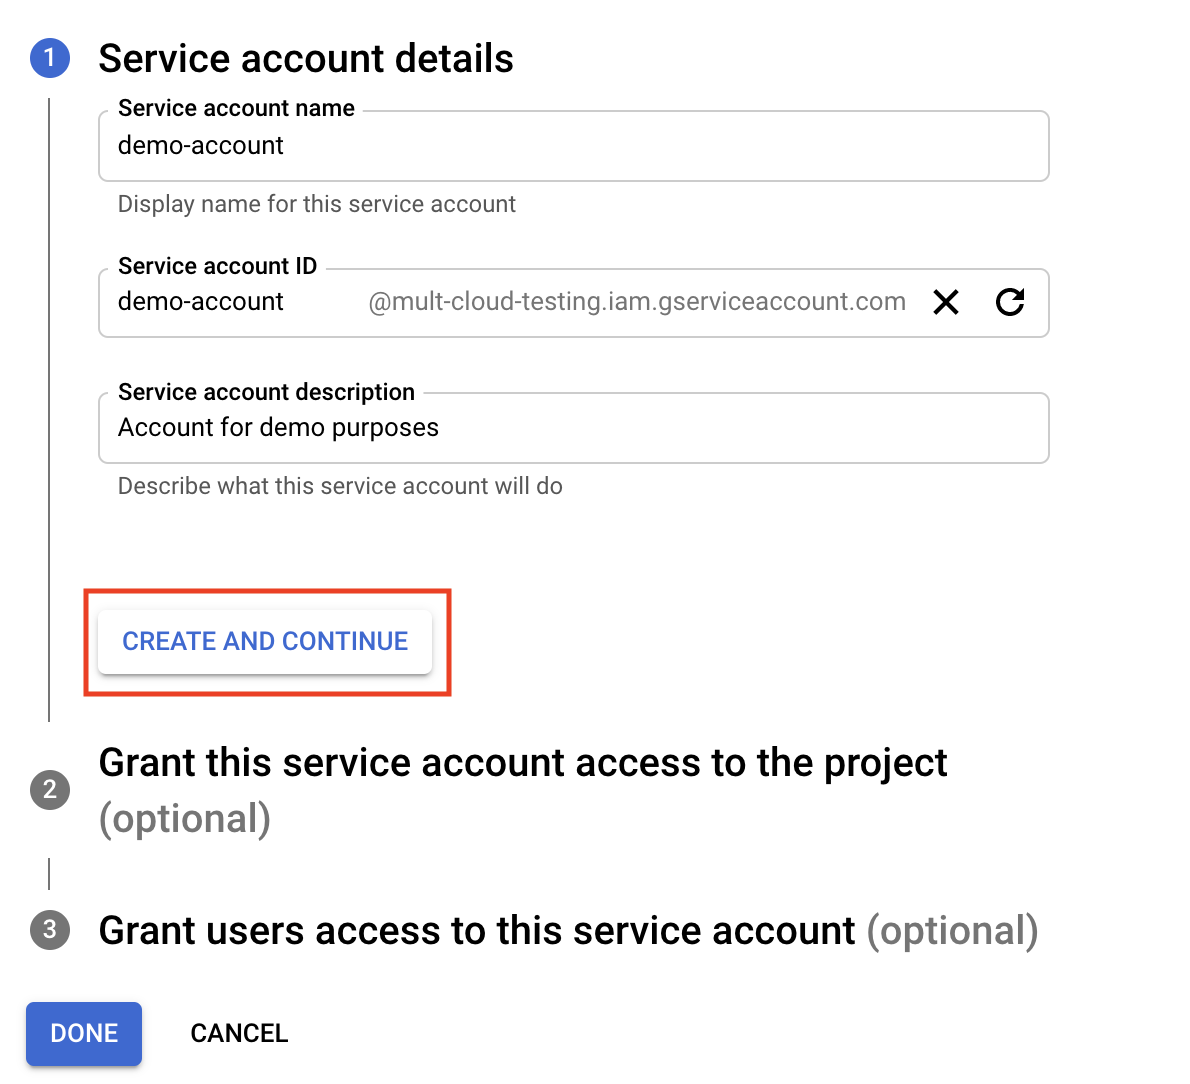
Go to Service Accounts in the GCP Console and click Create service account.
-
Enter a service account name.
-
Click Create and continue.
-
Skip steps 2 and 3.
-
Click Done.
Grant impersonation access to Microtica's service account
- Go to Service Accounts in the GCP Console.
- Click the service account you created above.
- Choose Permissions.
- Choose Grant access.
- Add
microtica-cross-account@marine-compass-268014.iam.gserviceaccount.comin the principal field and choose the Service Account Token Creator role. - Click Save.
Allow time to propagate
It usually takes 3-5 minutes for these changes to propagate. When you connect your Google Cloud account in Microtica (step below), it may show an error if the changes haven't propagated yet.
Grant permissions
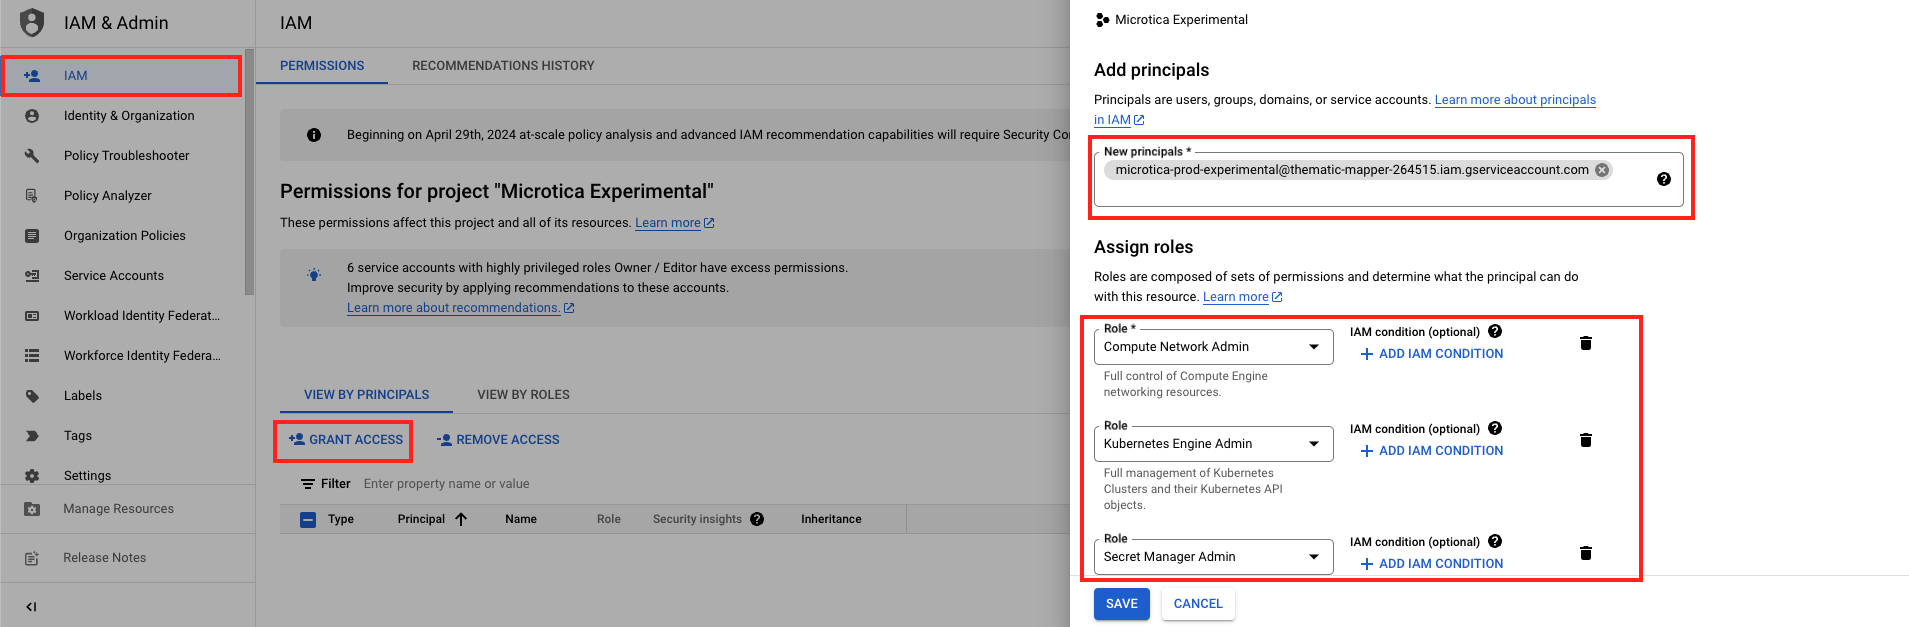
- Go to IAM in the GCP Console.
- Click Grant access.
- In New principals, add the service account you created above.
- Choose the roles you want to grant to Microtica. For a standard Kubernetes setup, assign the following roles:
- Compute Network Admin
- Kubernetes Engine Admin
- Project IAM Admin
- Secret Manager Admin
- Service Account Admin
- Service Account Key Admin
- Service Account User
- Artifact Registry Administrator
- Artifact Registry Repository Administrator
- Choose Save.
Least privilege
Follow the principle of least privilege: grant only the roles needed for the tasks the principal performs. This limits access to what is strictly necessary and reduces security risk.
Connect your GCP account in Microtica
- Open the Microtica console.
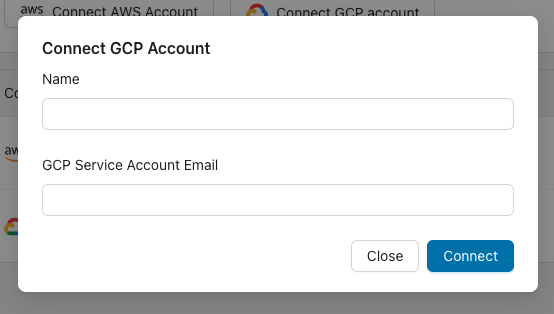
- From the side menu, go to Integrations → Cloud Accounts → Connect GCP account.
- Enter the following:
- Name — A user-friendly account name as shown in the Microtica console.
- GCP Service Account Email — The service account email you created above.
Enable GCP APIs
Enable the following APIs in the GCP Console:
If you enabled an API recently, wait a few minutes for the change to propagate to our systems, then retry.
Next steps
Connect an AWS account
Connect your AWS account to Microtica so it can provision and manage infrastructure for you, using short-lived AWS STS credentials instead of stored keys.
Connect an Exoscale account
Connect your Exoscale account to Microtica so it can provision and manage infrastructure for you, authenticating with an API key and secret you create.