Project
A project is your central workspace in Microtica, where you organize environments, components, and applications and manage teammates and cloud settings.
A project is your central workspace in Microtica. It holds everything tied to your delivery: environments, components, applications, cloud provider settings, and infrastructure-as-code configuration.
Inside a project, you create environments for each stage of your development cycle, such as development, staging, and production. Each environment connects to a cloud provider (AWS, GCP, or Azure) and uses the infrastructure-as-code tool you choose, such as Terraform or CloudFormation.
Create a project
- From the header in your console, click See All Projects.
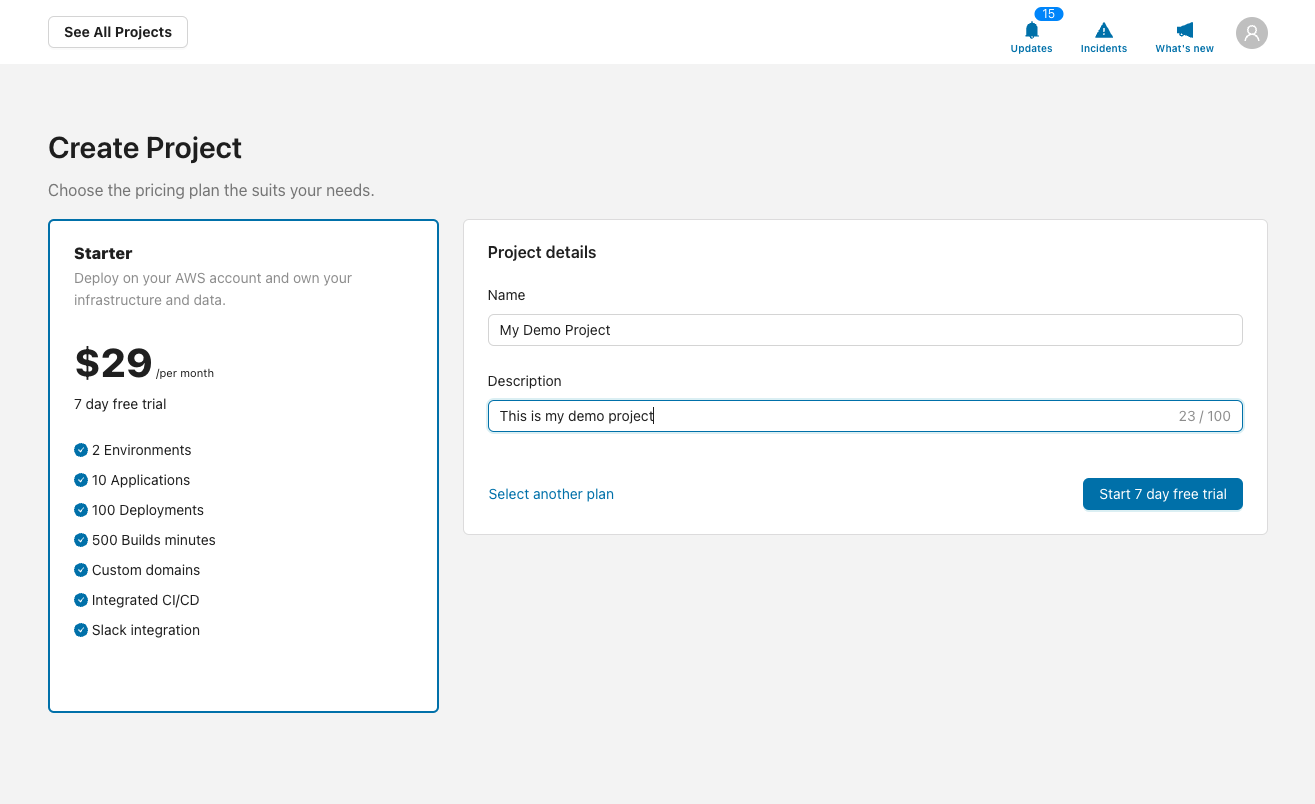
- Click Create Project and choose the pricing plan that fits your needs.
- Fill in the project details, such as the name and description.
- Click Create to finish.
Manage teammates
Adding teammates to a project lets your whole team share the work of delivering infrastructure and applications to the cloud. You add, manage, and remove teammates at the project level.
In a project, open Settings from the left menu and click the Members tab.

You must be logged in as a Project Owner or Admin to add, manage, or remove teammates.
Invite a user
To invite a teammate, enter their email address and select a role. Use the email address the user signed up with on Microtica. If the teammate doesn't have a Microtica account yet, they sign up and the project then appears in their list of projects.
User permissions
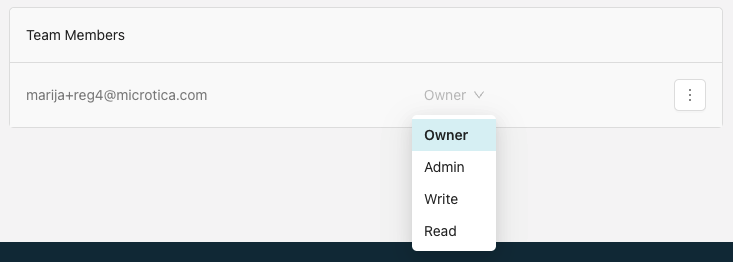
Users on a project can have one of four permission levels:
- Owner — full access to every resource, action, and setting in the project.
- Admin — can create components, services, environments, and saving schedules, trigger builds and deployments, and manage users. Can't update or delete the project.
- Write — can create components, services, environments, and saving schedules and trigger builds and deployments. Can't manage users or update or delete the project.
- Read — can view everything in the project but can't take any action.
Change a user's permissions
To change a user's permissions, select a new role from the permission dropdown next to their email. You can do this only if you have the Owner or Admin role.
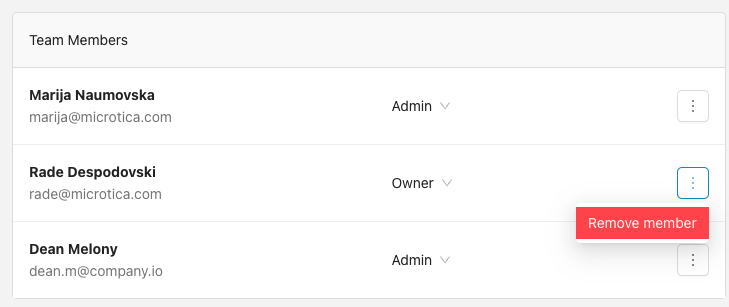
Remove a user
To remove a user from the project, click the three-dots button to the right of their email in the members list. You can remove a user only if you have the Owner or Admin role.
Next steps
Core Concepts
Understand the building blocks of Microtica: projects, environments, components, apps, pipelines, and deployments, and how they fit together.
Billing
Manage your Microtica plan and billing: start free with one project and environment, add unlimited users, then upgrade your plan for production workloads.