SPA on CloudFront
Deploy a single-page application on Amazon CloudFront with Microtica, backed by an S3 origin, a custom SSL certificate, and automated Git deployments.
This template deploys a single-page application on Amazon CloudFront, with an S3 bucket for static files and a Lambda function to run code deployments on your AWS account.
One-click deploy
Click Deploy with Microtica below and follow the template steps to deploy a single-page application on Amazon CloudFront on your AWS account.

1. Create an account
Creating a Microtica account is free. Sign up with your email or with your Git account.
2. Select the SPA on CloudFront template
On the starting screen, select the SPA on CloudFront template in the Starter Plan Templates section. You get 14 days to try out this plan and its templates. You're redirected to a page where you configure the parameters, choose an environment to deploy to, and trigger the deploy action.

On the left side, you can see which infrastructure resources this template provisions:
- an S3 bucket for storing the website static files,
- a CloudFront distribution with S3 as origin, and
- a Lambda function to execute code deployments.
3. Create a Git repository
First, connect a Git account (GitHub, Bitbucket, or GitLab). Microtica sets a default repository name for each template, which you can change. If you already have a Git account connected to Microtica, choose it from the list. Microtica creates a new repository on your account with the provided name, and every Git push deploys automatically.
4. Configure the template
In this step, set the website configuration, such as domain name and SSL certificate.
Before deploying the template, create a custom SSL certificate and enter the certificate ARN here. The certificate should match the domain name provided in the DomainName parameter.
Create the certificate in the N. Virginia region.
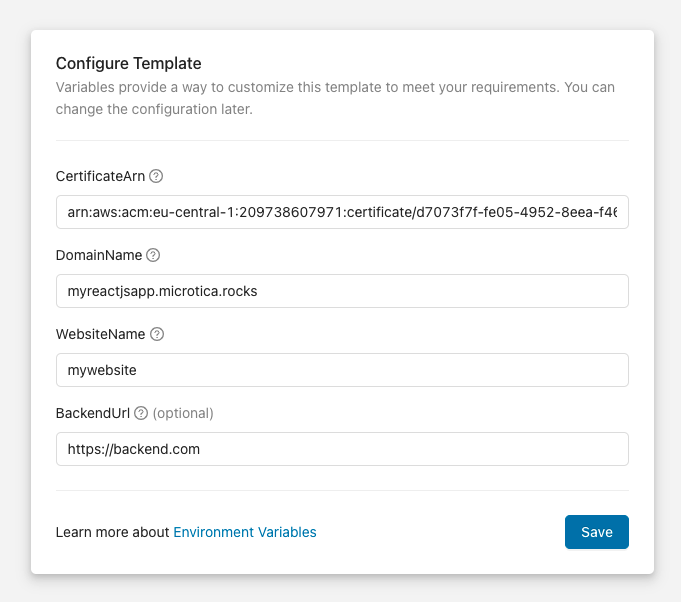
Save the changes to continue with the next steps.
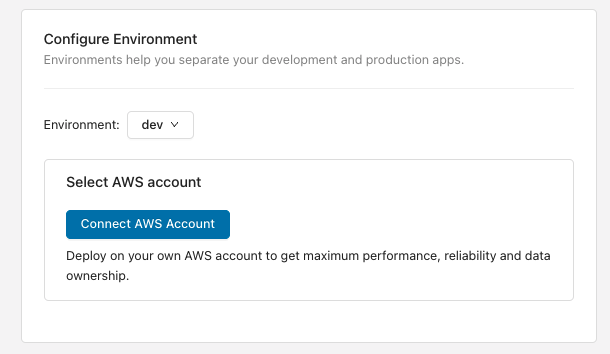
5. Select an environment
Next, provide an environment where your website deploys. Environments help you group infrastructure and application resources, so you can better separate your development and production workloads.
Select an existing environment or create a new one on the spot.
After that, connect your AWS account to deploy the website there.
6. Deploy
Once you've finished the infrastructure configuration, trigger a deployment of the environment by clicking Deploy.
All resources are created on the provided AWS account. Expenses are calculated according to AWS pricing for the services used.

Next steps
EKS administration
Set up local kubectl access to your EKS cluster, shell into pods, port-forward applications, and grant your apps access to AWS resources like SES and SQS.
Configure a custom domain
Serve your CloudFront single-page application from your own custom domain over HTTPS, instead of the auto-generated domain Microtica assigns by default.