Import an existing app
Connect your Git account to import existing application code into Microtica, prepare the repository, set up CI/CD pipelines, and deploy to AWS in minutes.
When you deploy infrastructure with Microtica's templates, you can create a new application in your Git repository or select an existing one. This page covers importing an app you already have.
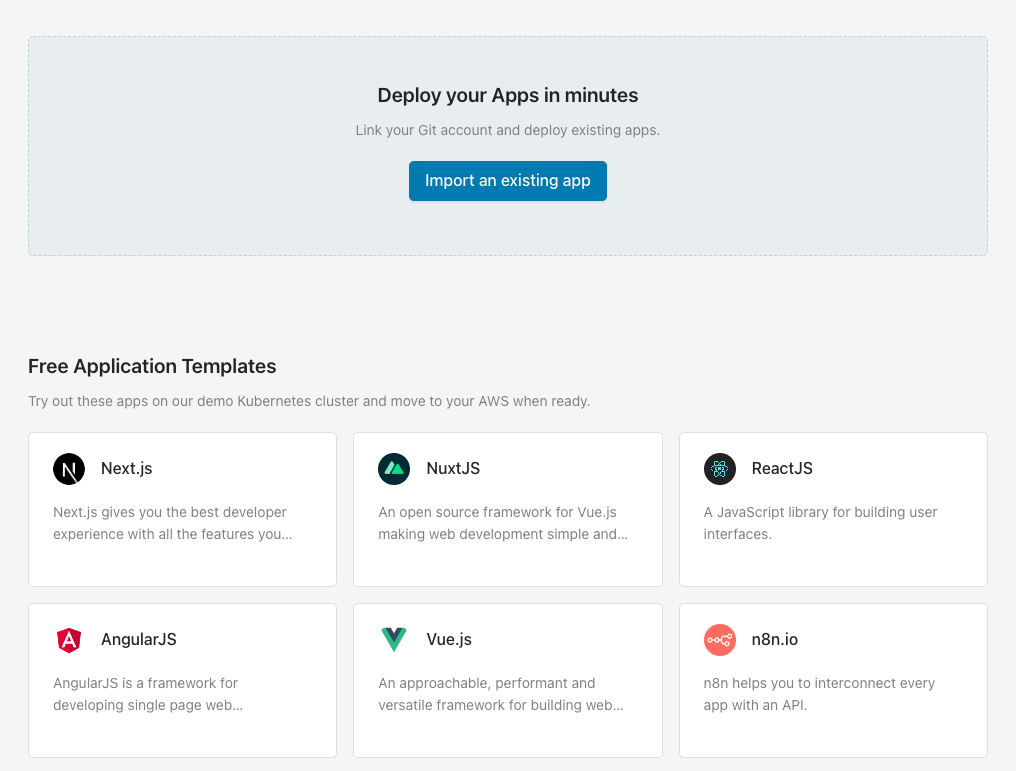
Open the Templates screen
On the Templates page, find the section for importing your existing application. Selecting it opens a flow where you connect a Git account, choose a cluster to deploy to, and deploy.
Import the Git repository
First, connect a Git account (GitHub, Bitbucket, or GitLab). If you already have one connected to Microtica, choose it from the list. Select the repository with your application code and click Save. From then on, every Git push deploys automatically in Microtica.

Prepare your Git repository
To import an existing project, your repository needs a few files so the CI/CD pipelines work correctly. These files live in the .microtica folder, whose contents you can preview on our GitHub account.
Clicking Add creates a new .microtica folder in your app repository that contains, among other files, the microtica.yaml pipeline spec. The files ship with default configuration, so update them if your application needs anything specific.

Before you continue, verify these files are in the repository. Clicking Validate runs a check, and once your Git repo is set up correctly you can choose where to deploy.
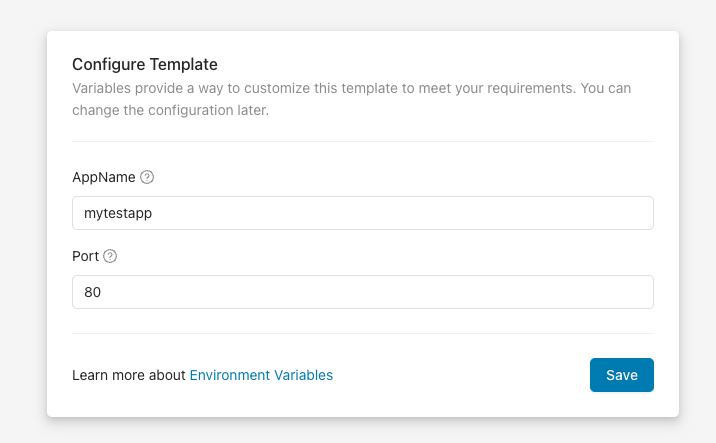
Configure the template
Enter an application name. This name appears in the portal under Environment → Apps, so you can tell your apps apart.
You can also add a port number — the port the application listens on for requests.
Select a cluster
Next, choose the Kubernetes cluster where your application deploys. You have three options for running your container app:
- Create a new EKS cluster on the spot
- Connect an existing cluster
- Get a free portion of our shared cluster
We recommend using Kubernetes on your own AWS account for production applications.
Once you're done, continue to deploy your application.
Deploy the template to the cluster
After you select a cluster, trigger a deployment of the environment by clicking Deploy.
Depending on the application, deployment takes about 4–5 minutes. While you wait, follow the detailed deployment logs by clicking View Logs.

Access the application
When the deployment finishes, a View Applications button takes you to the Apps tab inside the environment. There you see every live application running on the cloud.

For more detail, open the Deployments and Monitoring tabs, where you'll find pipeline history, resource consumption metrics, and instance logs.
Next steps
Applications
Apps are the code you write and store in Git, deployed within cluster components on Kubernetes, Fargate, or Lambda and managed in Microtica.
Scaling
Scale your Microtica applications vertically and horizontally by configuring CPU, memory, and instance replication from the App Settings tab in the console.