Deploy manually from the UI
Trigger a deployment by hand from the Microtica console, pick the branch to deploy, and follow the pipeline logs in real time as your app ships.
Deploy your application by triggering the pipeline directly from the Microtica console. Manual deployments give you full control over when and how your application ships, which is useful when you want to release on demand rather than on every commit.
When you deploy a new or existing application from a template, one of the values you enter is the Git branch to deploy the code from.

Trigger a deployment
After the first deployment, trigger your next deployments by hand:
-
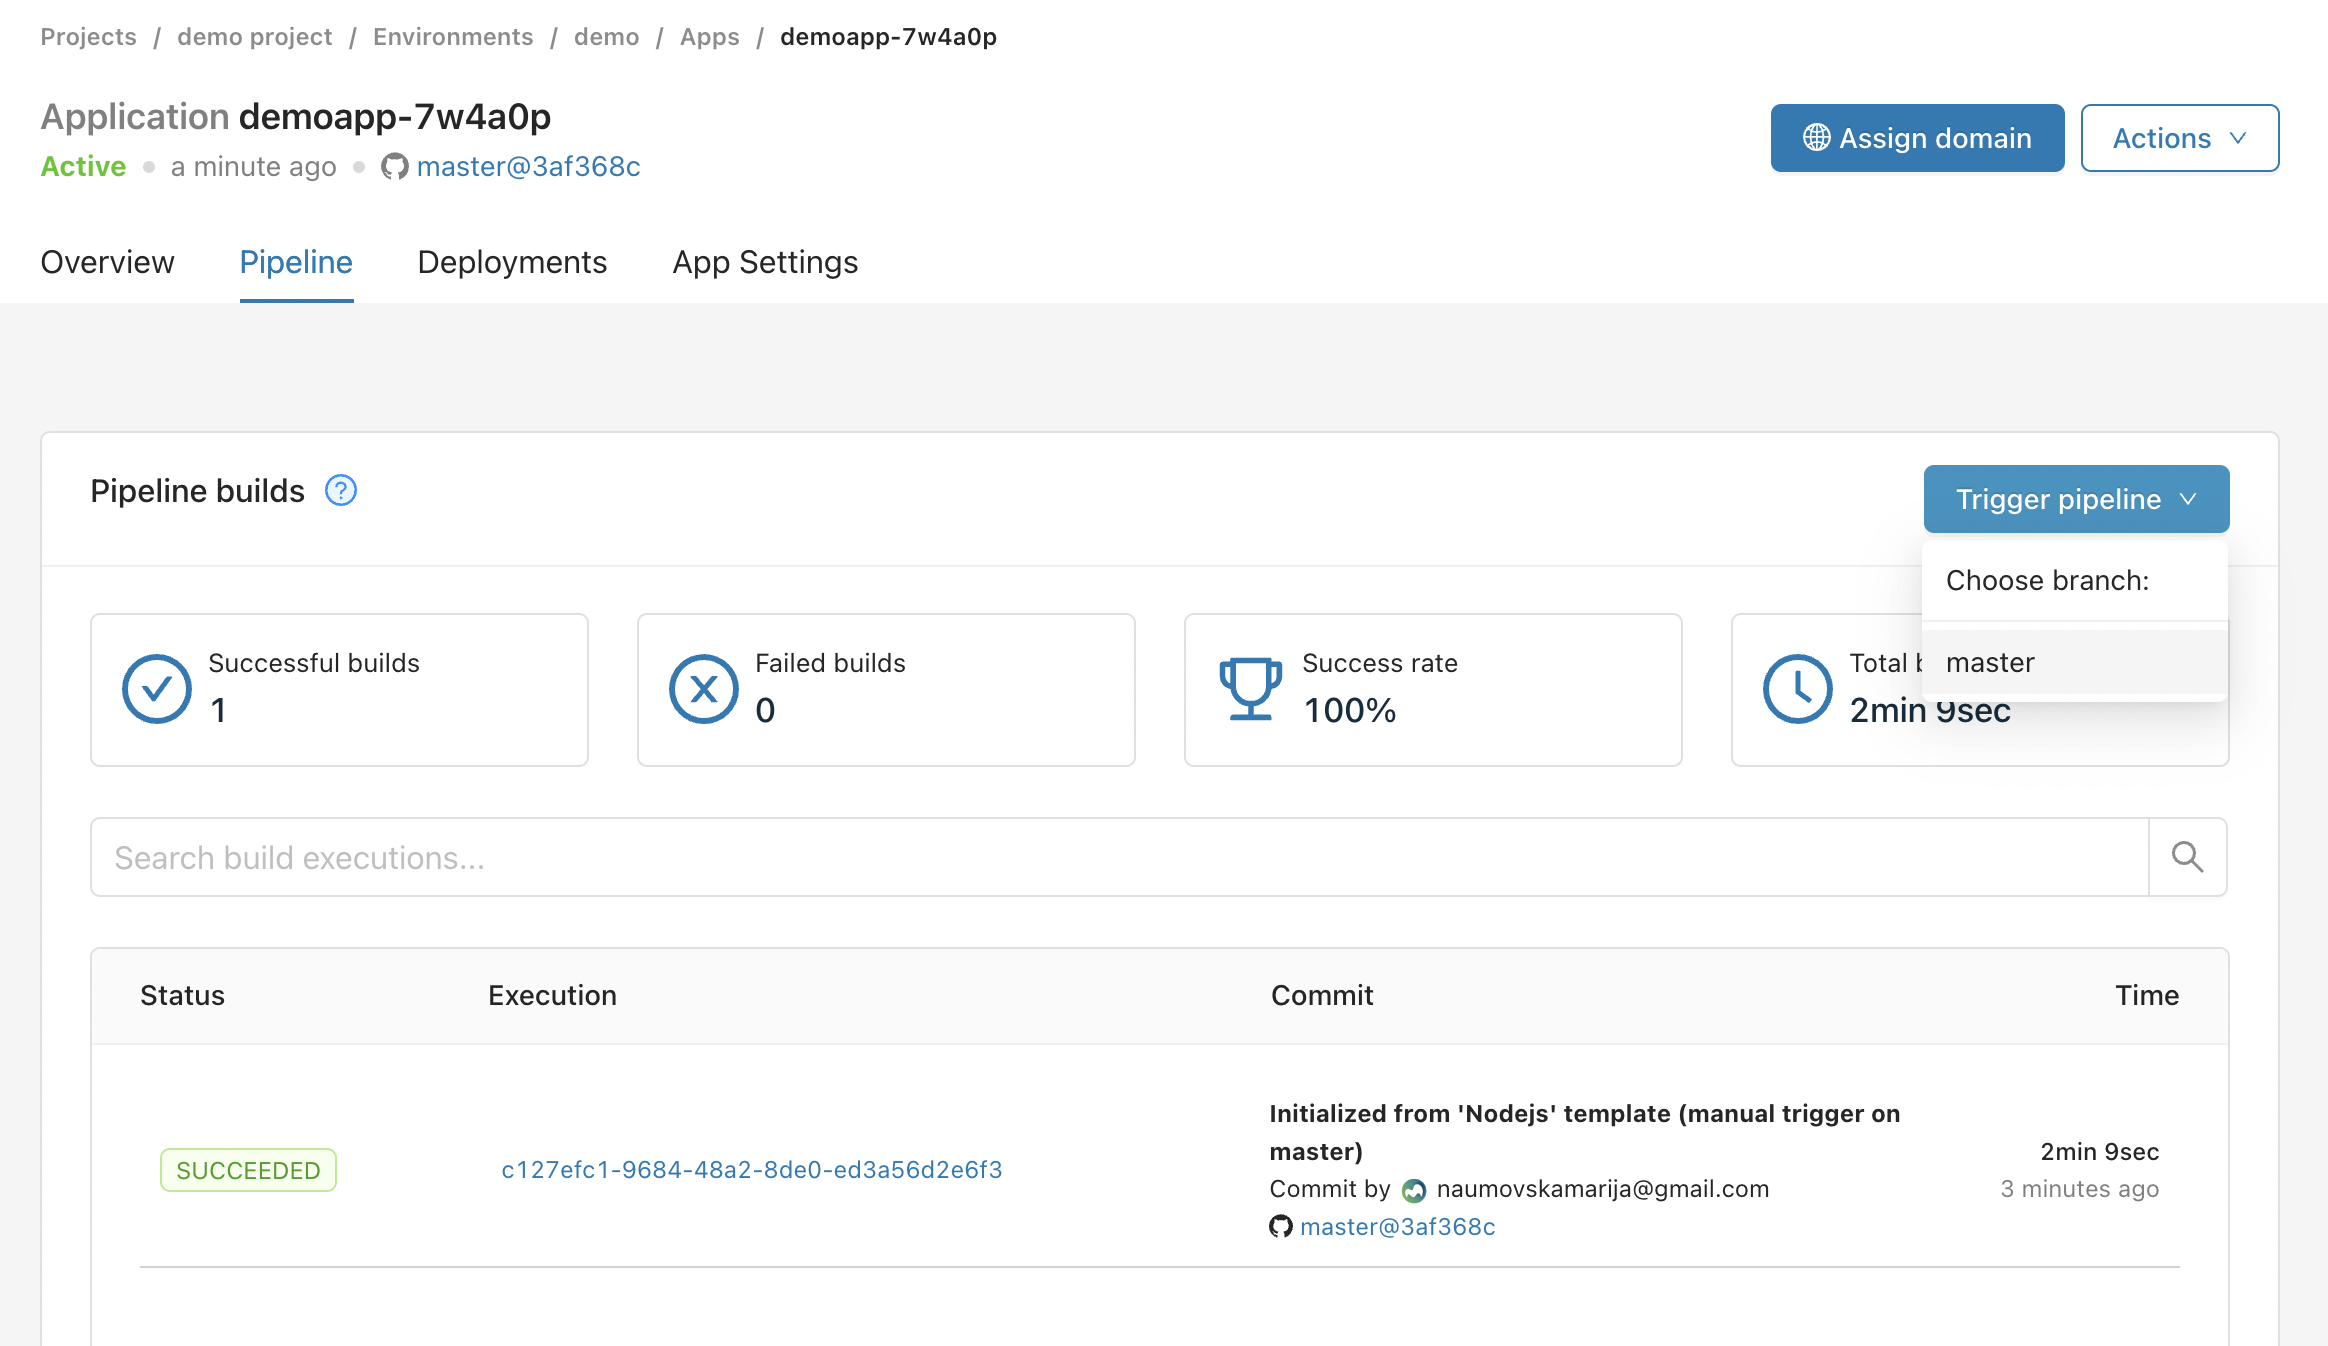
In the Microtica console, open Apps, click your application's Overview, and select the Pipeline tab.
-
Click Trigger pipeline and select the branch you want to deploy.
-
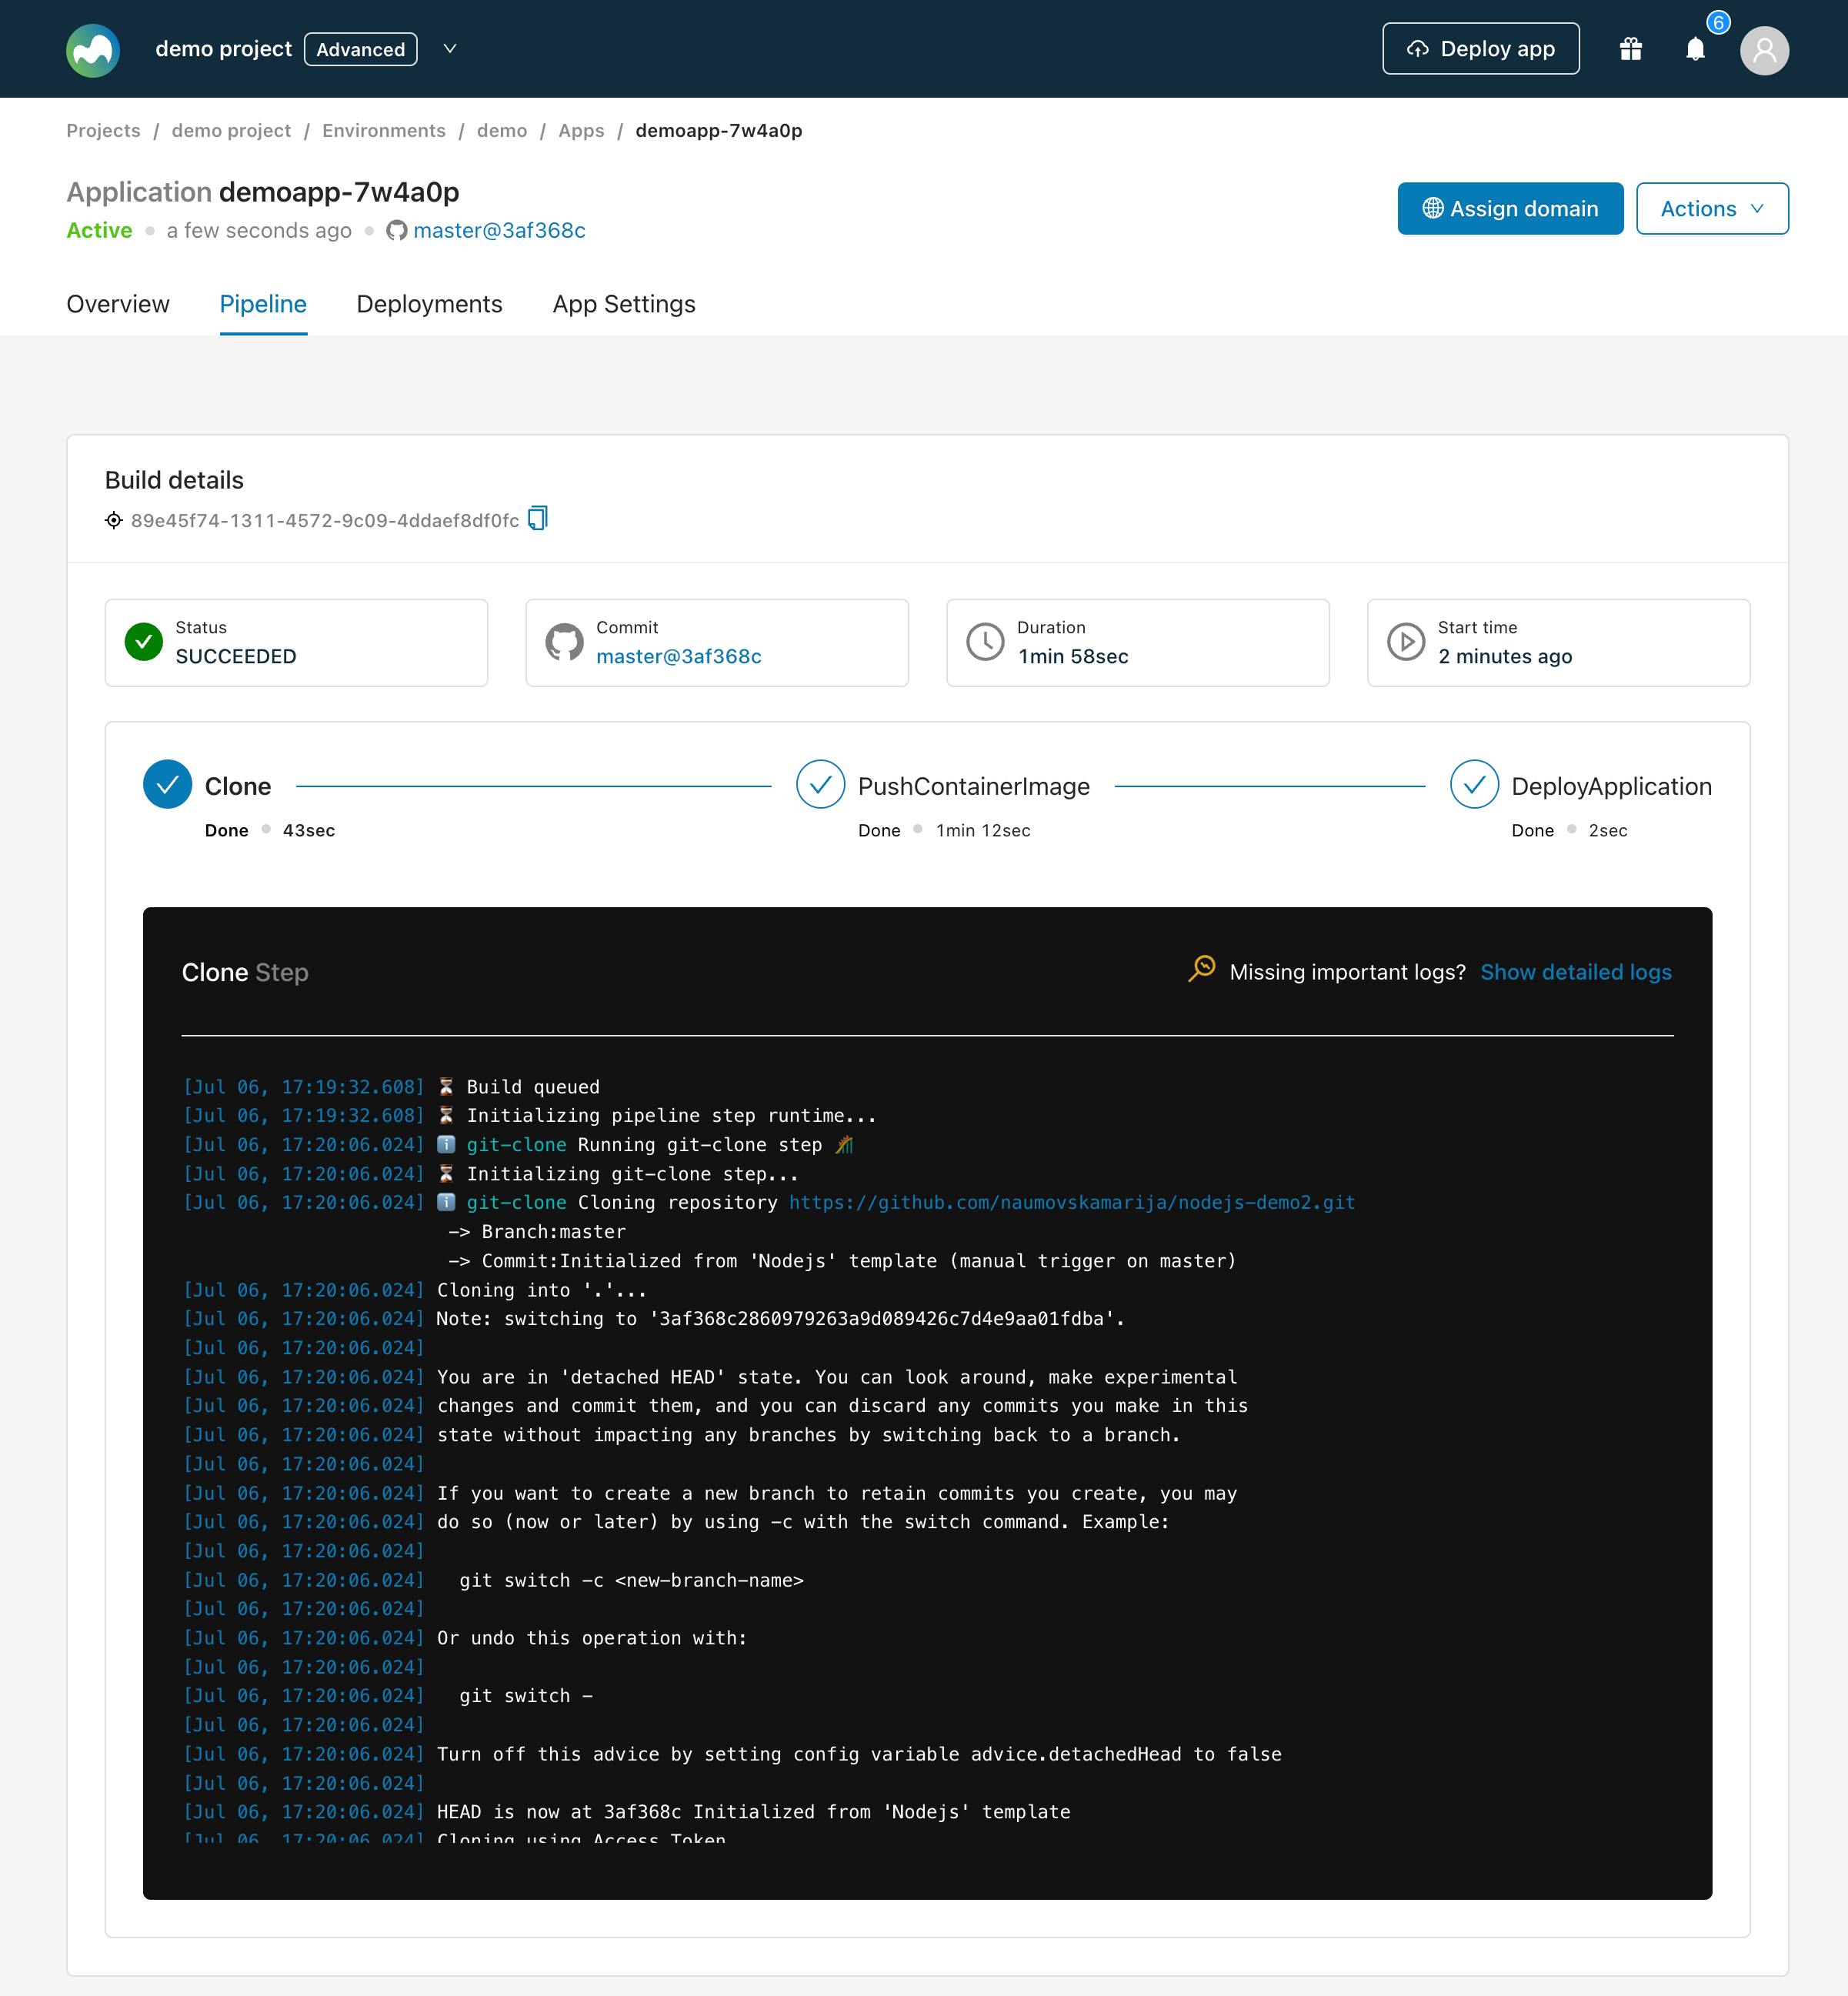
Microtica deploys your application to the target environment. You're redirected to the Build details page, where you can follow the pipeline logs and watch the deployment's progress and status in real time.
-
After the deployment finishes, handle any follow-up tasks, such as configuring environment-specific settings or assigning a domain, in the App Settings tab.
Pipeline notifications
Microtica sends real-time notifications about the status of your CI/CD pipelines. See Pipeline notifications for details.
Manual vs. automated deployments
Manual deployments suit on-demand releases, but automated deployments give you consistency, scalability, and faster error recovery. Automating your pipelines reduces errors and shortens time to market, so adopt automated deployments wherever you can.
Next steps
Deployments
Build, test, and deploy your applications with Microtica's CI/CD. Trigger pipelines on every commit and ship to AWS environments automatically.
Set up automated deployments
Deploy automatically on every commit or tag. Connect a Git repository to a cloud environment and let Microtica run your CI/CD pipeline on each push.